Setting Up and Onboarding to Your AI Chatbot
After signing up for an Aichat account, you will be asked to complete your organization and chatbot information. Start with your organization name and optionally upload your logo.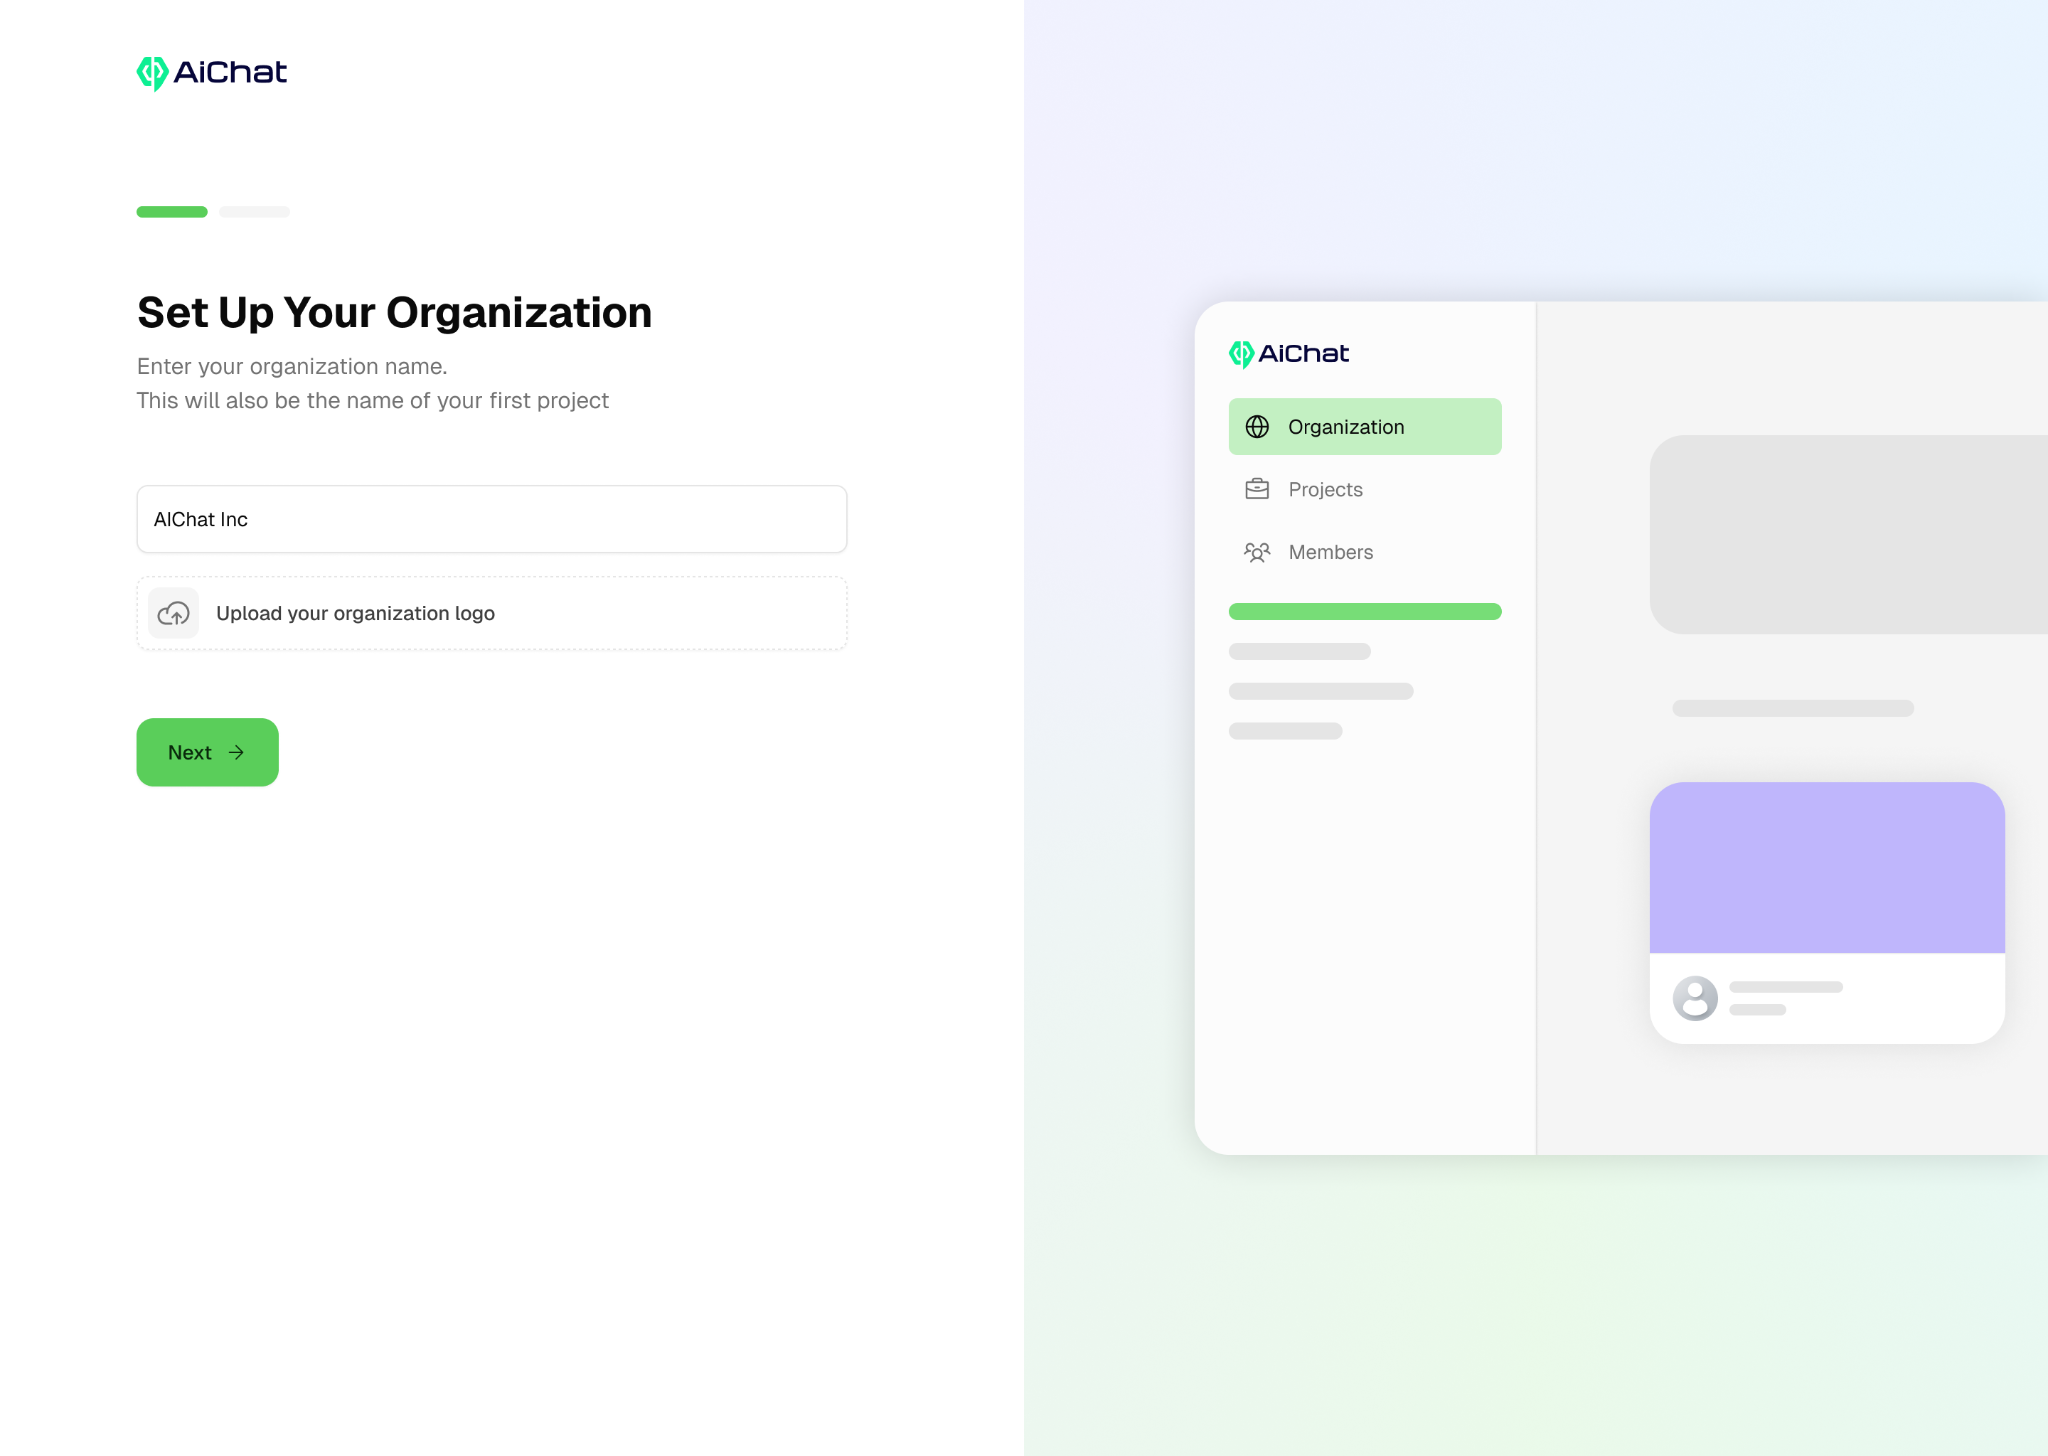
.png?fit=max&auto=format&n=3yBiRNkUxRs8pM-n&q=85&s=5d5a756a3c551de14ba1580c8b22f64a)
.png?fit=max&auto=format&n=CY-PbrqRMP9kvV0u&q=85&s=77ef8b0939e328e61dea3bf5ccc236eb)
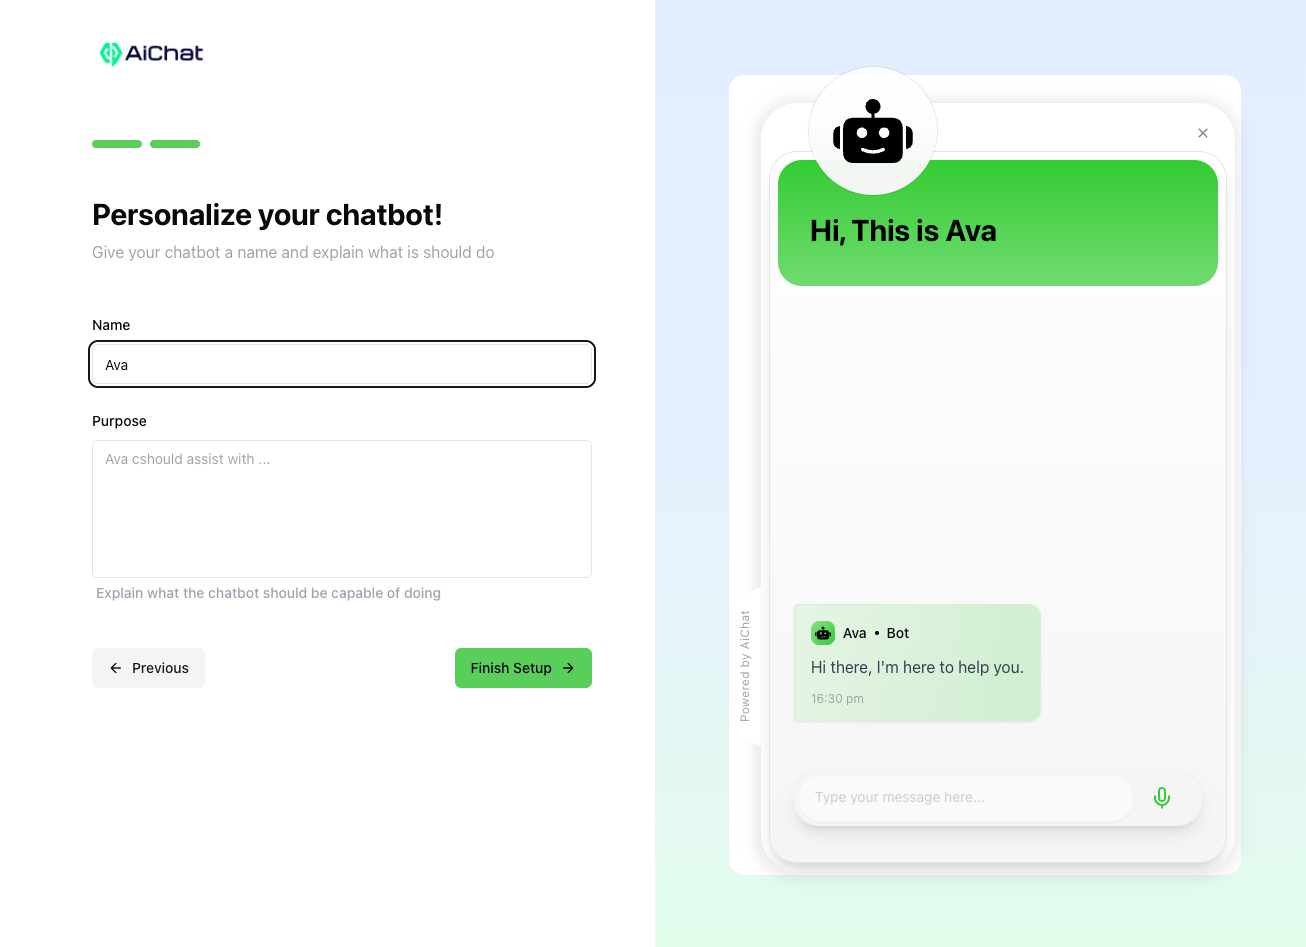
This guide will help you setting up your first chatbot and gives you an overview of Aichat platform.