Widget Customization
Setting up widget involves two key steps: customization settings and installation settings. To set it up, go to Settings > Channels.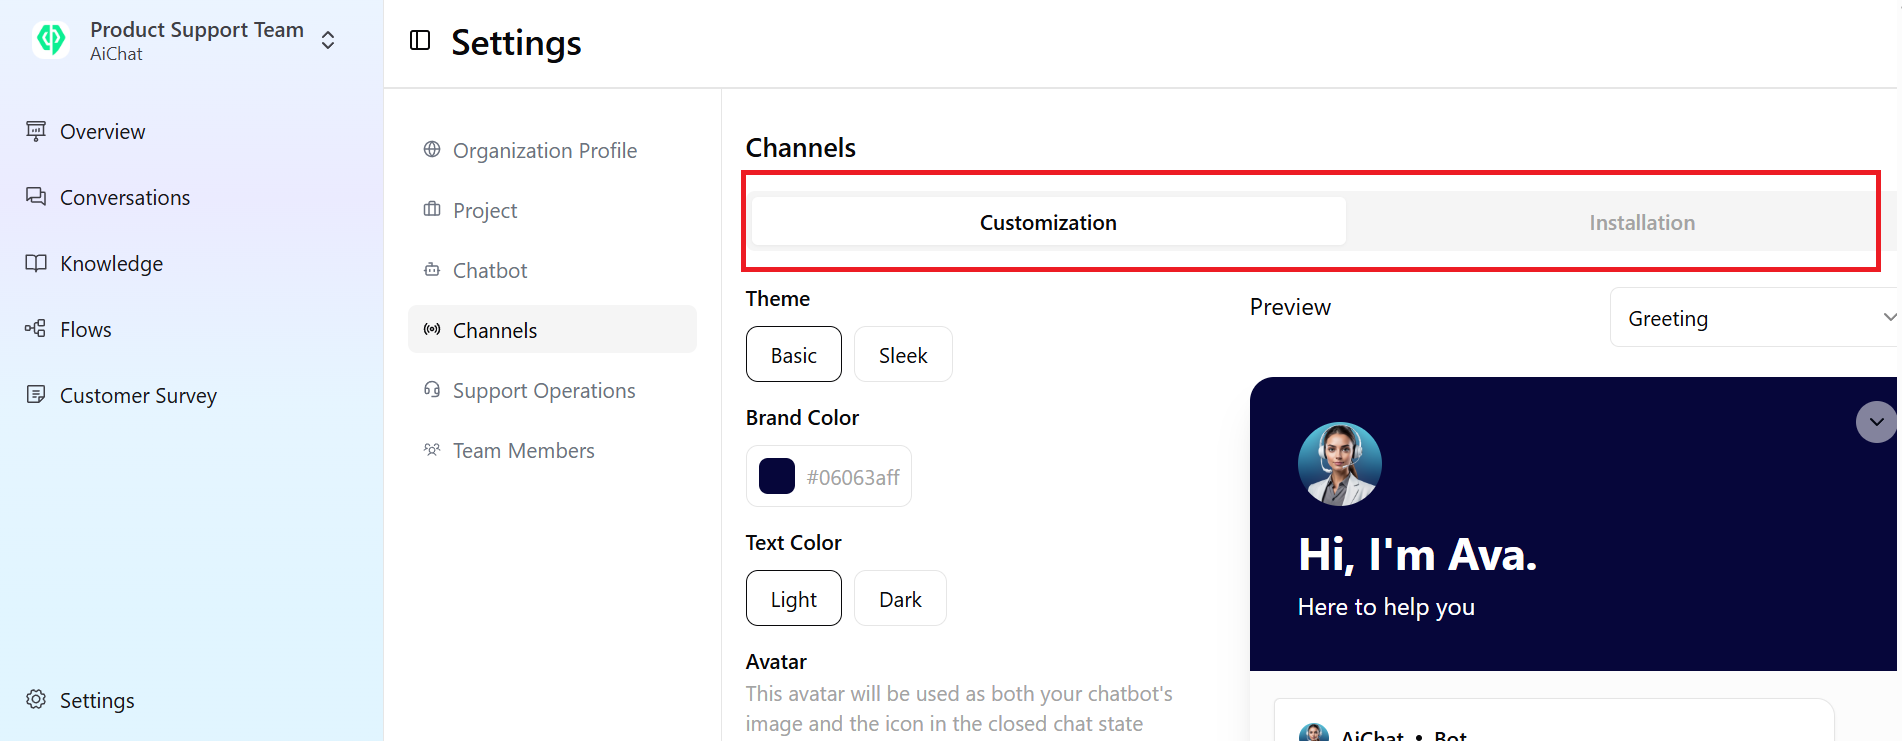
Visual Customization (Theme, Brand Color, Text Color, Avatar)
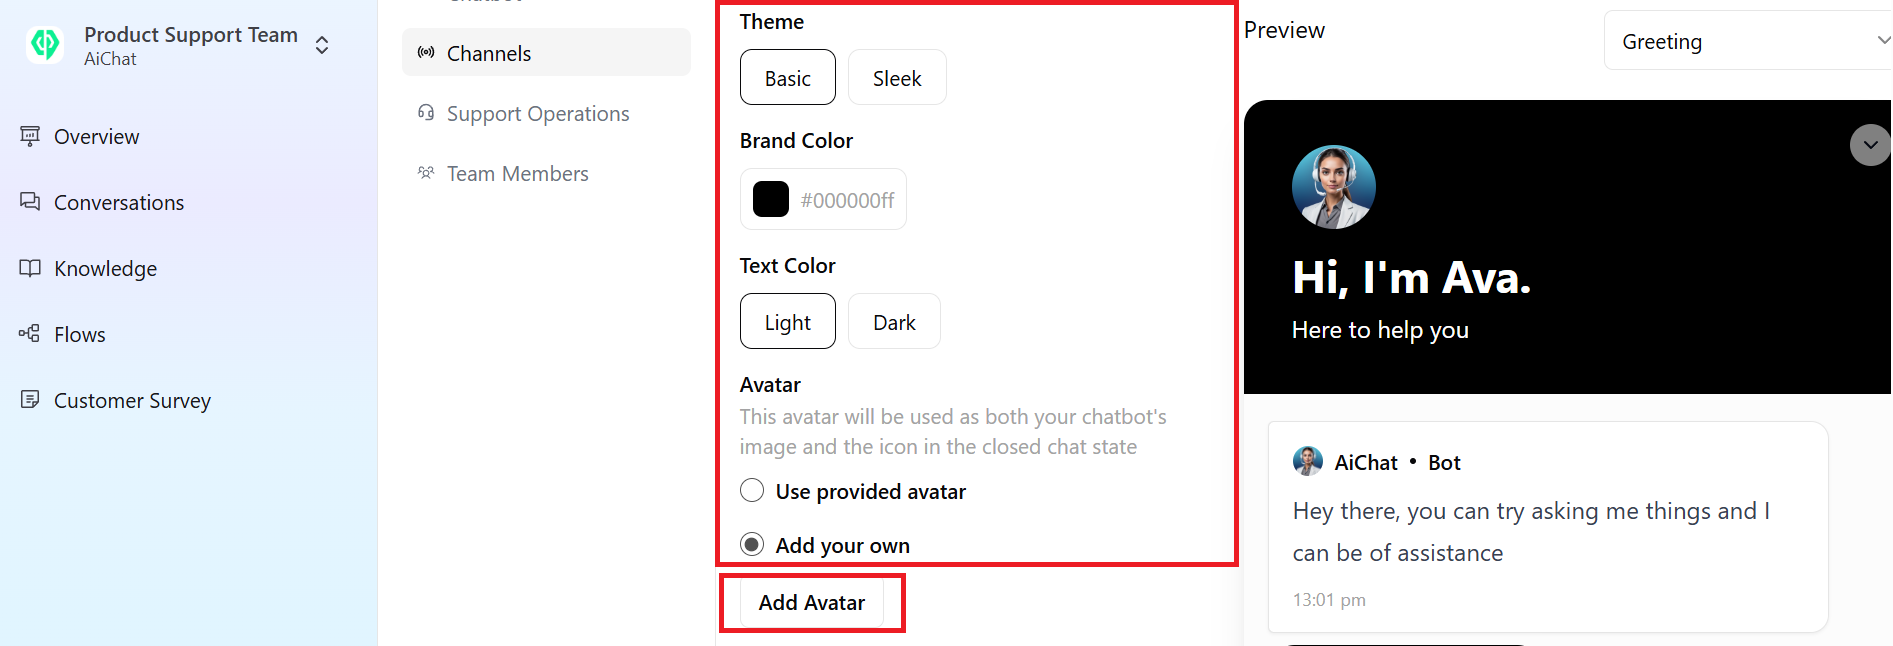
Customize your bot’s appearance by selecting visual settings that align with your brand identity. To adjust your widget’s appearance, navigate to Channels, where you’ll find a list of customization options:- Theme: Choose between Basic and Sleek. The Basic theme keeps the bot avatar inside the header, while the Sleek theme places it outside the header with a larger display.
- Brand Color: Pick a header color palette that best represents your brand.
- Text Color: Select between Light (white text) and Dark (black text) for better readability.
- Avatar: Your avatar will serve as the bot’s image and icon on your company website. Use the default AiChat avatar by selecting “Use Provided Avatar”, or upload a custom one by clicking Add Avatar.
Initial Message Customization (Header Title, Subtitle, Welcome Message, Placeholder)
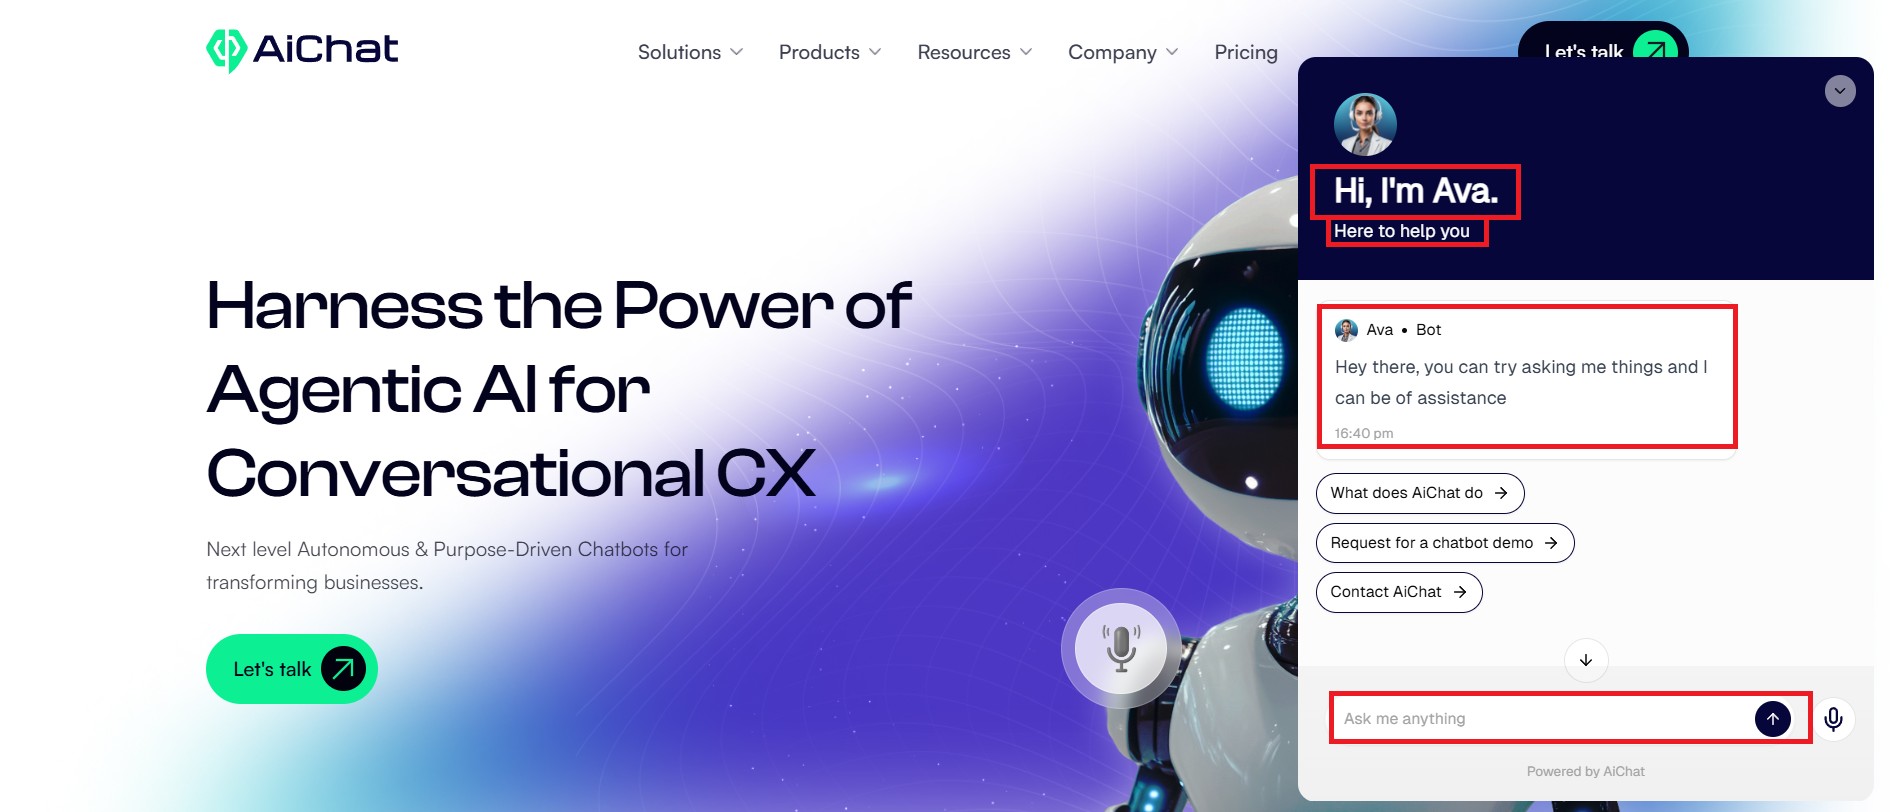
Customize the initial message that appears on your bot’s landing page, including the header title, header subtitle, welcome message, and placeholder message.- Header Title: Set a greeting message along with your bot’s unique name.
- Header Subtitle: Add a short, engaging message such as “Here to help you”, “What can I do to assist you?”, or “I’d be happy to help with your queries.”
- Welcome Message: Craft a warm and inviting message tailored to your target audience.
- Placeholder Message: Enter a brief text to be displayed in the chatbot’s input field, guiding users on what to type.
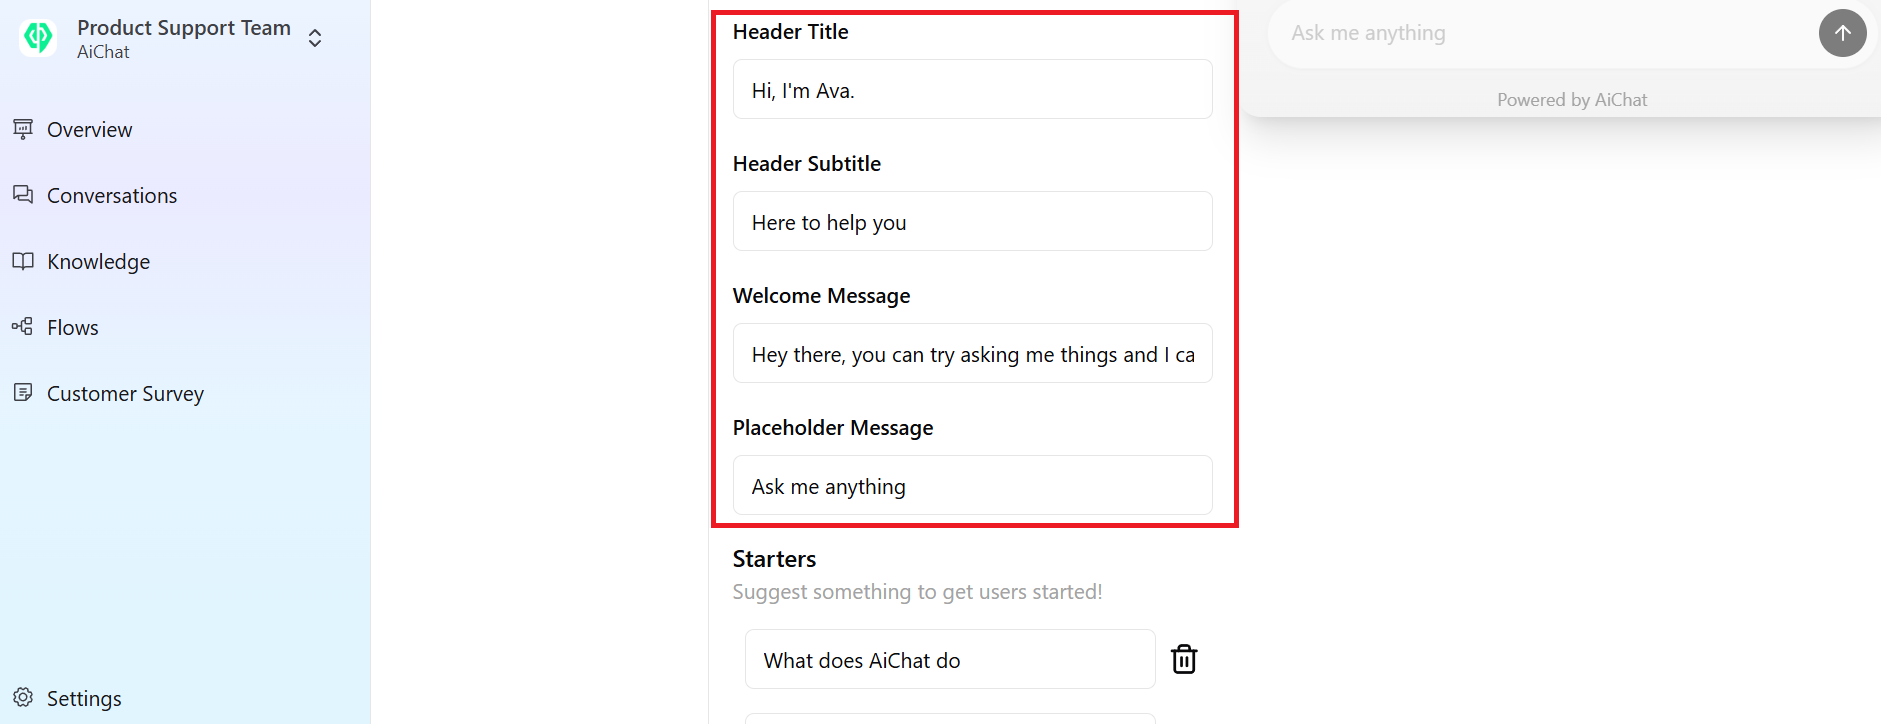
Below is the appearance of initial messages on AiChat web widget.
Starters (Quick Access Shortcuts)
Starters work as quick-access shortcuts, making it easier for users to communicate with your bot. They are displayed at the front of your landing widget page for easy interaction. Click Add to add more starters or click trash bin icon to delete. There are no limitations on the number of starters you can add.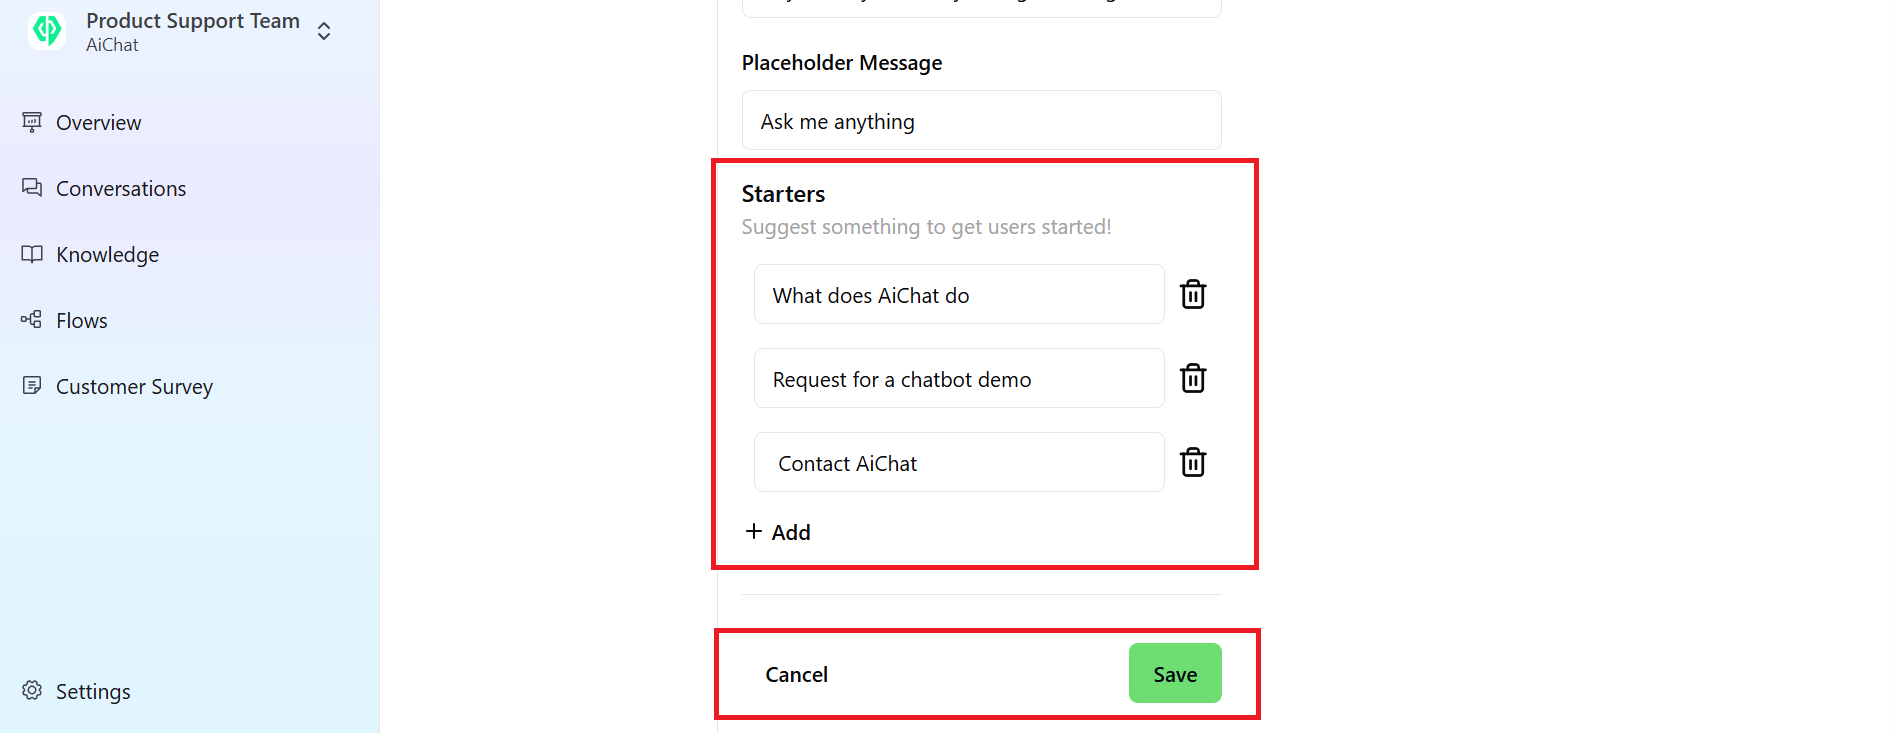
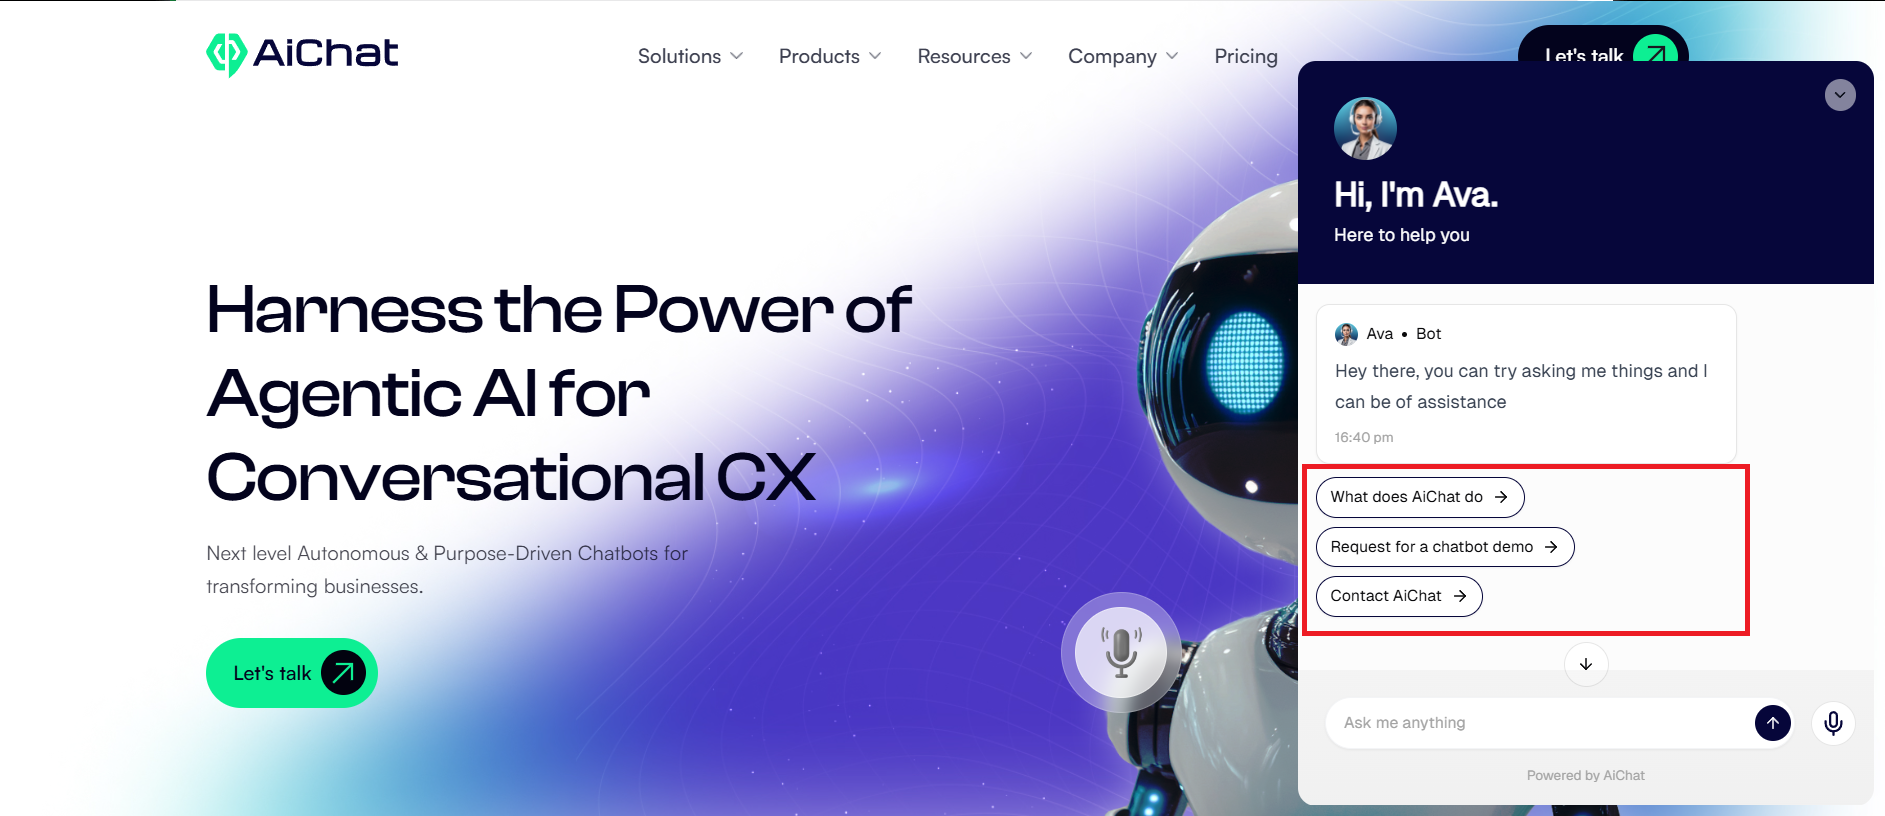
Below is an example of how Starters appear on the AiChat web widget.
Widget Installation
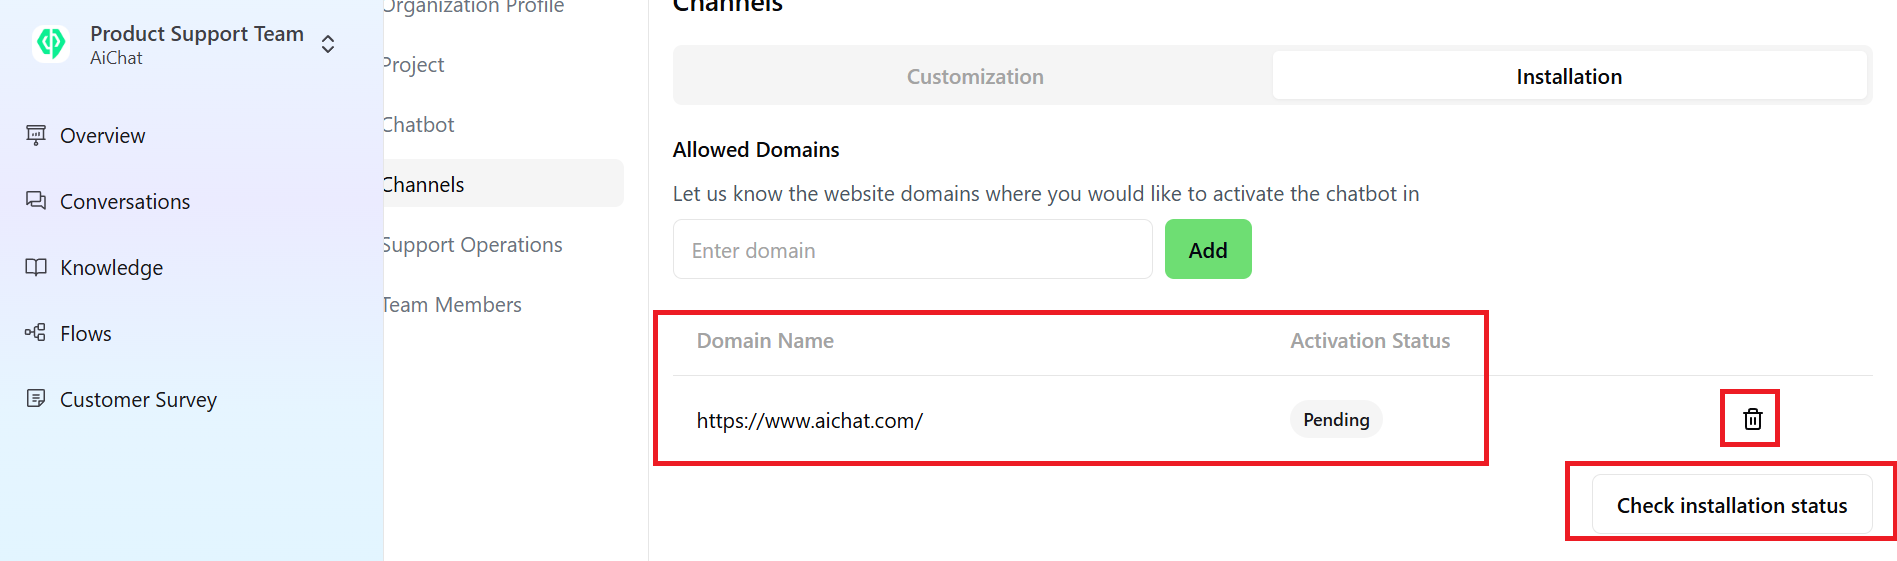
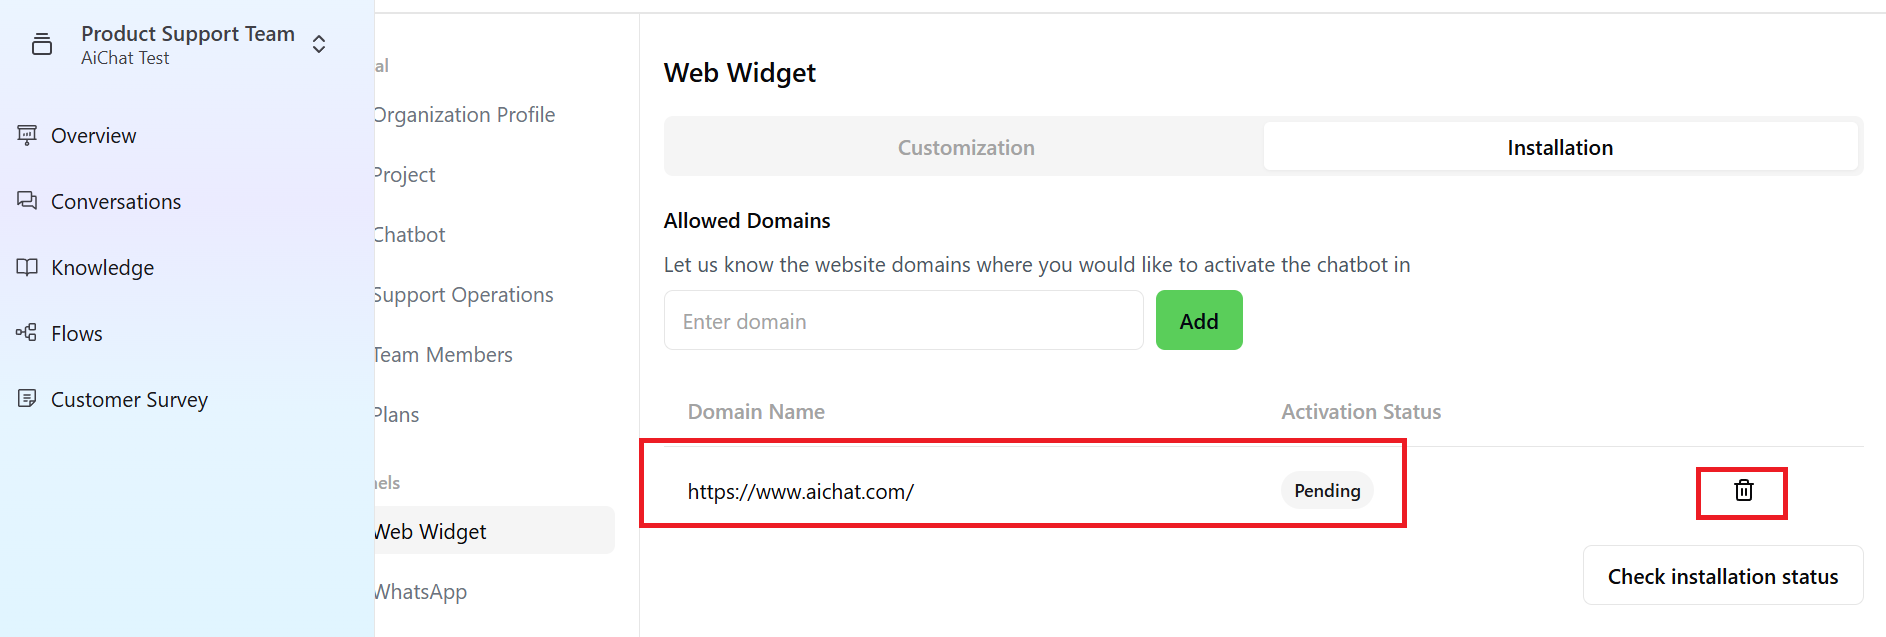
Allowed Domains
You can specify a list of websites that will display the web widget. This ensures no one can ‘hijack’ the script and use on websites other than the approved ones by you even if they were to place the installation script on unapproved websites.Adding Website Domains
Enter the website domains where you would like to activate the chatbot by clicking Add.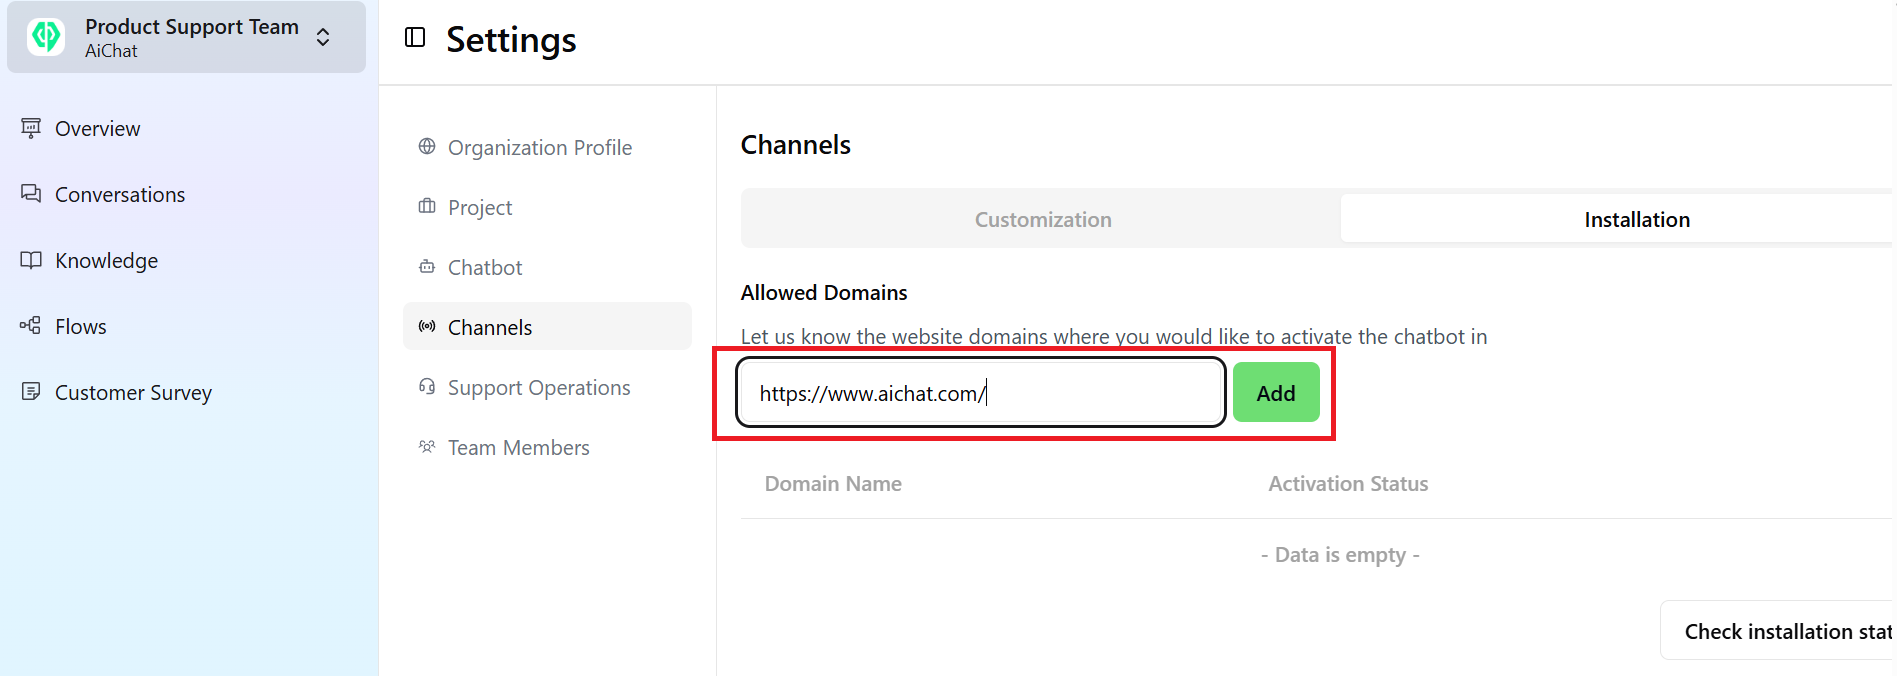
Installing the Script
Copy the script to your clipboard by clicking the Copy to clipboard button. You can add this script in Google Tag Manager, or plugins in your CMS that allows you to add scripts in header or footer.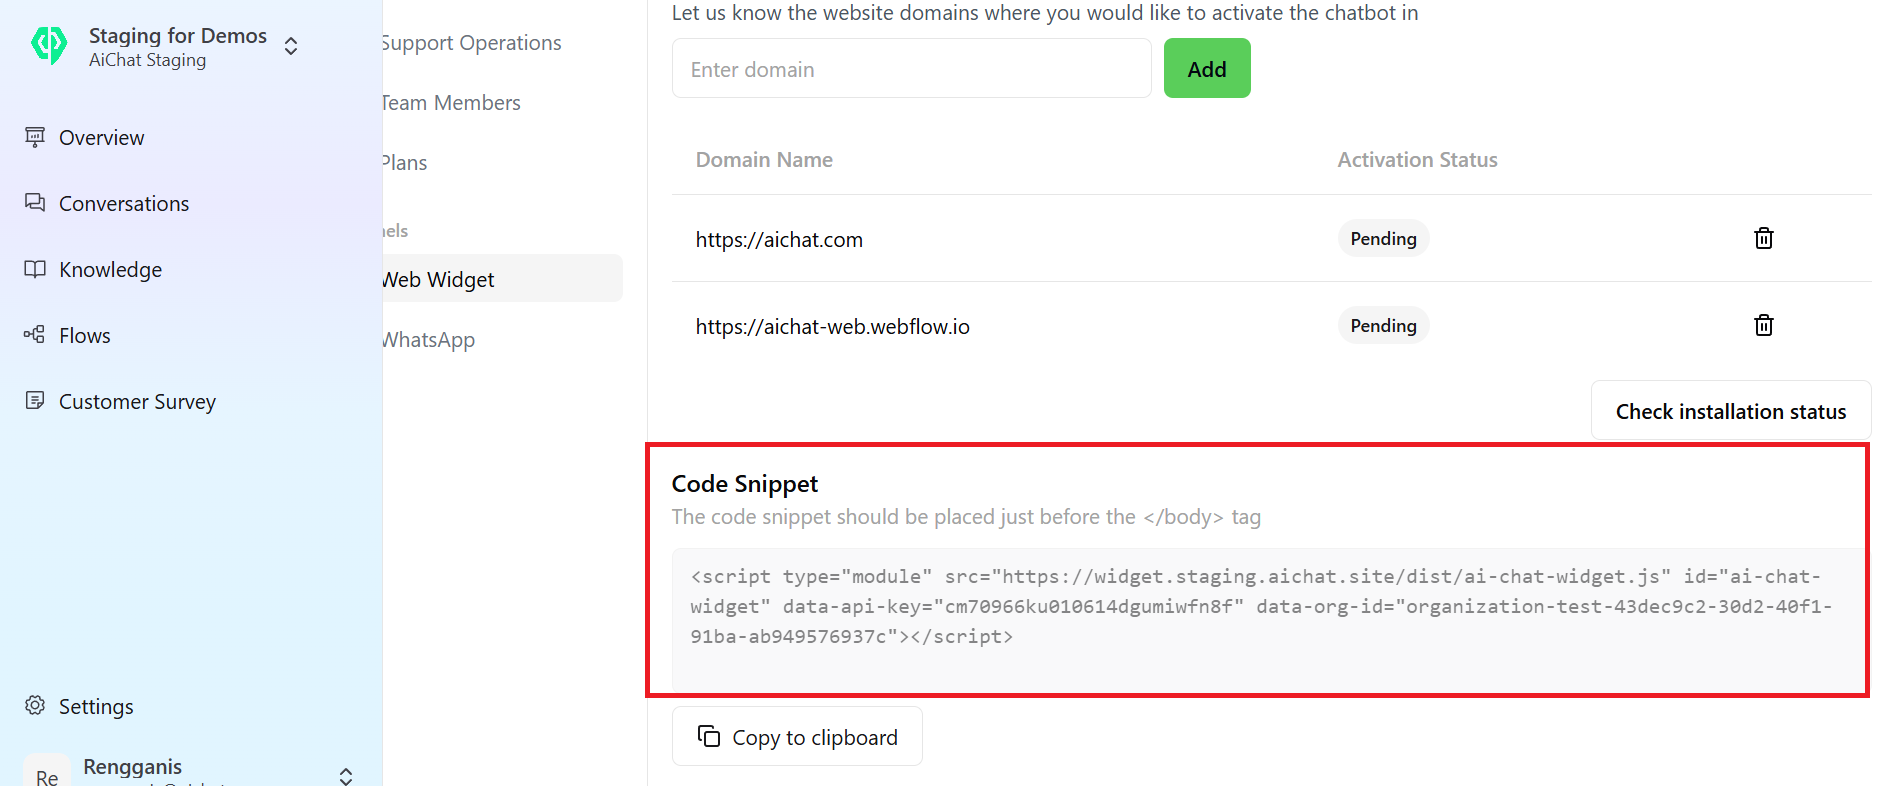
If you are adding it directly to HTML page, place the script just before the </body> tag.Checking Installation Status
Checking Installation Status
Click Check installation status to view your current installation status.